Self-Hosting Plark
Plark is designed to be self-hosted. You can run it on your own VPS (Hetzner, DigitalOcean, AWS, Vultr, etc.) or deploy to platforms like Render with just a few clicks.
Before You Begin
You'll need:
A domain name (e.g., yourwebsite.com)
A place to host your site, either:
Option 1: Deploy on VPS
Provision a VPS from your preferred provider (Hetzner, DigitalOcean, AWS, Vultr, etc.).
SSH into your server and run:
bash <(curl -fsSL https://cli.plark.com/install.sh)Open your browser and visit your server's IP address (e.g.,
http://123.45.67.89).You’ll be guided to register your first admin user.
Setup You Domain
Update your DNS records to point your domain to your VPS IP.
In the Plark dashboard, go to Settings > Domains and add your domain.
Option 2: Deploy on Railway
Railway offers a straighforward way to host web applications.
Click on the Deploy Link: 👉 Deploy Plark on Railway
Congiure your custom domain in Railway (Guide here)
Option 3: Deploy on Render
Render is an easy way to get started that includes a global CDN for faster load times.
Click on the Deploy Link: 👉 Deploy Plark on Render
Configure your custom domain in Render (Guide here)
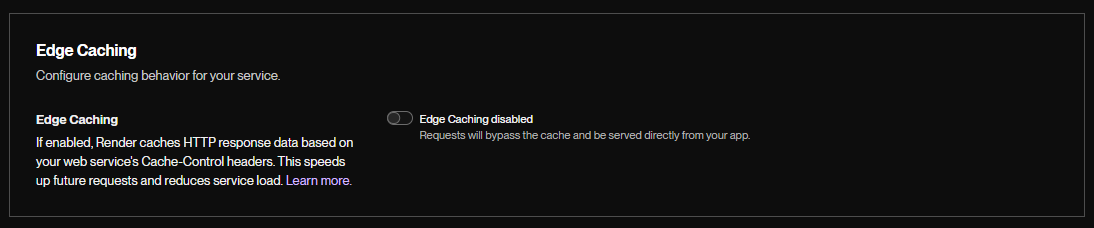
In Render’s settings, enable CDN Edge Caching.